Adjustable Leveling Feet Guide
A wobble is never the furniture’s fault alone; it is the meeting of four legs and a floor that does not quite agree. This guide covers how leveling feet work: reading the thread, choosing the stem and base, fitting them, and setting them so the rock is gone. Adjustable leveling feet are also called levelling feet, adjustable feet and levelers, including the low profile bases used under cabinets.
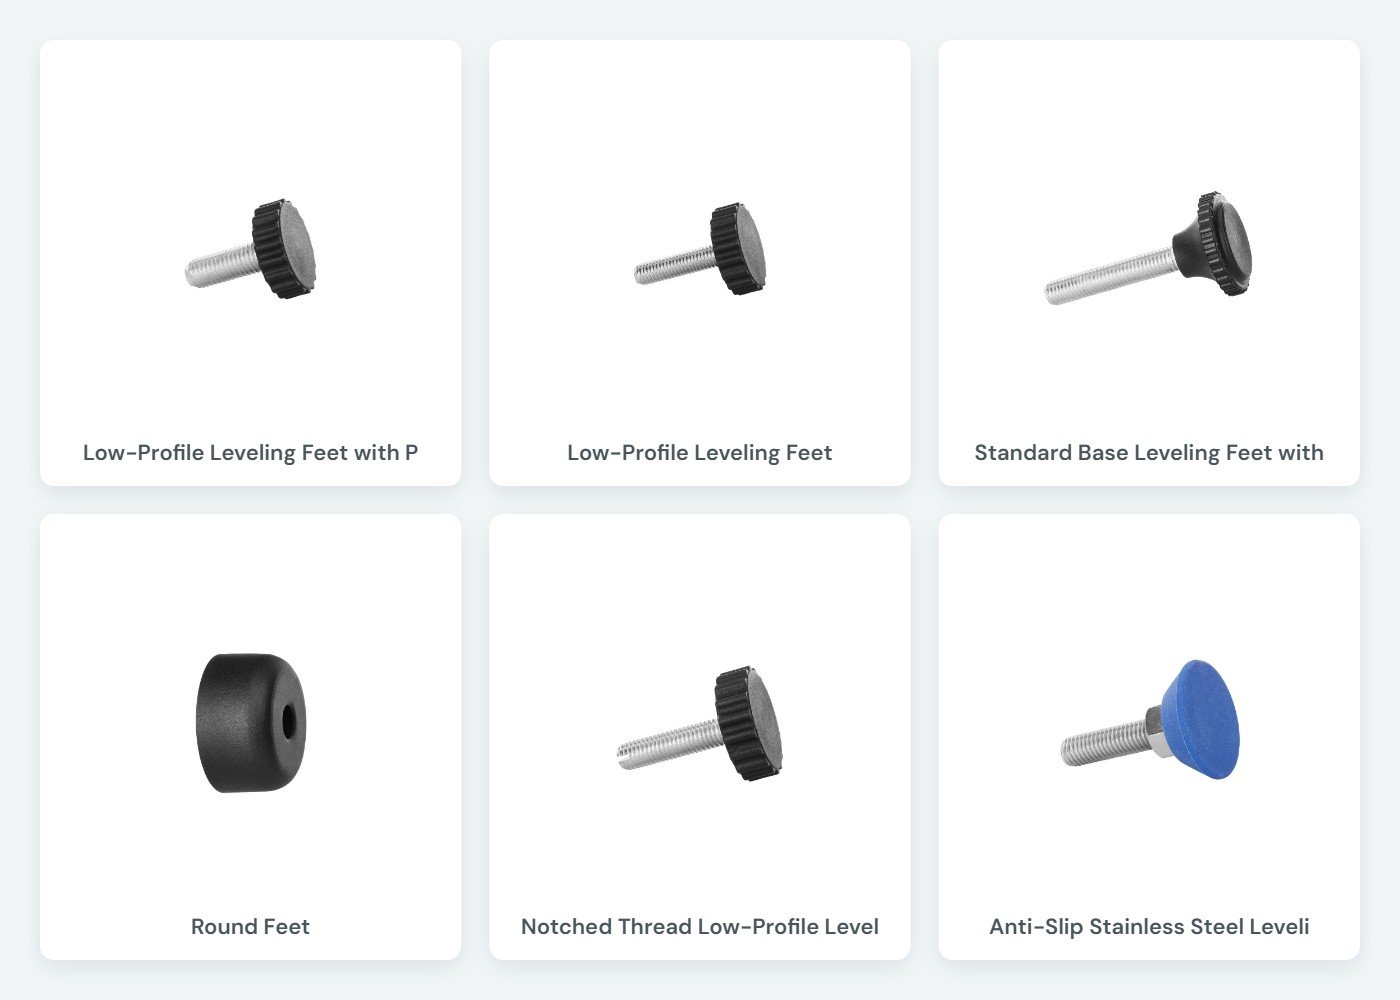
On this page:
Start here
Two questions and you have your leveling feet.
The thread has to match what the leg already has. Everything else is choosing what the base does once it is in.
Question 1. Metric thread, or inch?
Metric: M4 to M12
The furniture default across most of the catalog, with M8 the most common by far. Small appliance and equipment feet run M4; Standard Base feet step up to M12. If the old foot measures a whole number of millimeters across the thread, it is metric.
Inch: 1/4″-20 and 5/16″-18
Common on North American furniture and shop equipment. The catch is that 5/16″ is 7.9 mm, a tenth of a millimeter from M8, and the two are not interchangeable. The measure section shows how to tell them apart.
Thread size chart: what each size measures
Measure across the old stud with a ruler or calipers, then find that measurement here. Watch the near-misses: M6 vs 1/4″-20 and M8 vs 5/16″-18 are close enough to confuse and different enough to strip an insert.
| Thread | Measures across | Where you meet it |
|---|---|---|
| M4 | 4 mm (0.16″) | Small appliances, electronics, light frames |
| M6 | 6 mm (0.24″) | Chairs, small tables, light shelving |
| M7 | 7 mm (0.28″) | Flat-pack and some low-profile feet |
| M8 | 8 mm (0.31″) | Tables, desks, most commercial furniture |
| M10 | 10 mm (0.39″) | Heavy tables, workbenches, cabinets |
| M12 | 12 mm (0.47″) | Standard Base feet, heavy equipment |
| 1/4″-20 | 6.35 mm (0.25″) | US-made furniture and fixtures |
| 5/16″-18 | 7.9 mm (0.31″) | US shelving and racking |
Measuring about 9.5 mm (3/8″)? That is 3/8″-16, a size we do not stock — it is close to M10 but not interchangeable, so do not force it. Ask us and we will point you to the right fit.
Question 2. What should the base do on the floor?
Sit still on a floor that marks: pad base
A PA6 pad in the floor face, for sealed hard floors. The pad takes the contact instead of hard plastic.
Grip a slippery floor: anti-slip
A TPE face that holds position on polished surfaces. For furniture that creeps when leaned on.
Follow an uneven floor: tilt or ball-joint
The base pivots instead of staying rigid to the stem: up to 9 degrees on Tilt, any direction on Ball-Joint, for legs that do not meet the floor square.
The tenth of a millimeter that matters
How to read the thread and pick the stem size.
The category page covers checking whether a thread exists. This is the next step: identifying it precisely, because the two closest sizes in the catalog differ by 0.1 mm and stripping an insert is how that mistake announces itself.
01
Measure across the old thread
Unscrew the existing foot and measure across the outside of its thread with calipers. Close to 6, 8 or 10 mm reads metric. Close to 6.35 or 7.9 mm (0.25″ or 0.31″) reads inch.
02
Confirm by counting the pitch
The tie-breaker between M8 and 5/16″-18. Count threads against a ruler: 5/16″-18 has 18 turns to the inch, about 1.41 mm apart, while M8 runs a 1.25 mm pitch. If the foot winds in stiff after two turns, stop: wrong thread.
03
Pick the stem length
Measure the largest gap you need to close under the low leg and choose a stem with comfortably more travel than that. Extra stem parks inside the leg; too little stem cannot be stretched later.
Never force a near-miss thread. M8 and 5/16″-18 will each start in the other’s insert and bind within a few turns. Forcing on from there strips the insert, and the leg then needs a new insert before it can take any foot at all. Two minutes with calipers is cheaper.
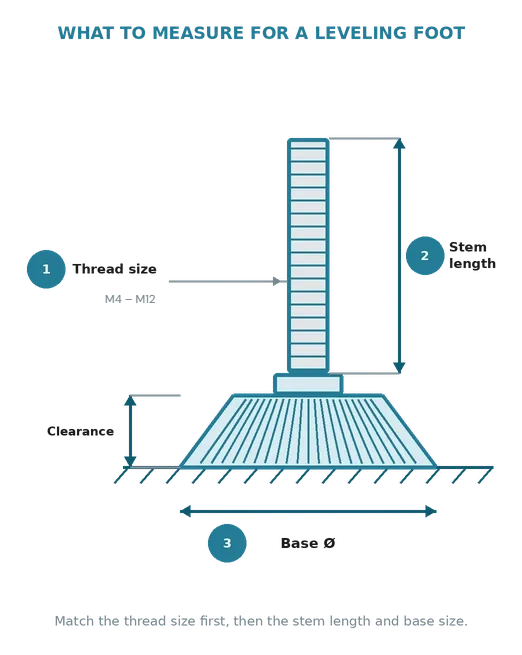
Before you pick a base
What one leveling foot will actually carry.
Static load capacity is set by the thread, not the base. A 25 mm base and a 50 mm base on the same thread carry exactly the same weight.
The load runs down the threaded rod, into the base and out to the floor. The rod is the narrowest part of that path, so it is the part that gives first. A wider base spreads pressure across the floor, which matters on timber, vinyl and epoxy, but it does not make the rod stronger.
| Thread | One foot | Four feet | Base sizes we stock |
|---|---|---|---|
| M4 | 20 kg (44 lb) | 80 kg (176 lb) | Ø 10, 20 mm |
| M6 | 60 kg (132 lb) | 240 kg (529 lb) | Ø 13, 20, 30 mm |
| M8 | 80 kg (176 lb) | 320 kg (705 lb) | Ø 25 to 50 mm |
| M10 | 120 kg (265 lb) | 480 kg (1,058 lb) | Ø 25, 30, 45, 48 mm |
| M12 | 150 kg (331 lb) | 600 kg (1,323 lb) | Ø 45 mm |
Static load means a load that sits there: benches, cabinets, shelving, display units, static equipment. It does not cover vibration, impact, or anything rolled or dragged. If that is your application, talk to us before you order rather than after.
M8, the workbench size
Four M8 feet give you 320 kg, which covers most fabricated steel benches, assembly stations and packing tables, plus what lives on them. A 60 kg bench, a 90 kg cast vice, a grinder and tooling comes to roughly 250 kg, so you are inside the rating with room. Add a second vice and you are at 340 kg and should move up to M10. M8 is also our deepest range: six base diameters and stems from 10 mm to 110 mm.
M10, loaded shelving and cabinets
480 kg across four. This is the size for loaded shelving, tool cabinets, heavier assembly benches and equipment stands. The Ø 45 mm base on an M10 thread is the workhorse combination and the one we ship most of into commercial fitouts.
M12, machine bases and racking
600 kg across four on a Ø 45 mm base, the top of our standard range. The usual reasons to reach it are a heavy machine base, a long run of loaded racking where the weight is not evenly shared, or a specification written with headroom in mind.
On a floor that is out of level, a rigid foot lands on one edge. The whole load goes through that edge, the base creeps, and a few months later the bench is rocking again. Our tilt feet articulate through 9 degrees so the base finds the floor and stays flat against it. Some catalogues call these tilt glide machine feet. Same part.
For a floor that is smooth, polished or damp, the rubber base and anti slip feet grip without being fixed down, which suits display racks, mobile fixtures and washdown areas.
Sourcing to a specification? Send us the weight, the thread, the floor and how far out of level it runs, and we will size it and quote it. Request a quote.
Before anything else
What the floor and the room decide.
The thread was decided by the leg. The face and the metal are decided by what is under the furniture and around it.
Sealed hard floors
Hardwood, tile, vinyl, laminate, polished concrete. Choose a pad version so the contact point is PA6 rather than hard plastic, and check the pads annually under anything heavy.
Carpet and forgiving floors
The plain hard base is fine here: the pile takes the contact and nothing marks. Wide bases stop a loaded foot pressing a deep dimple into forgiving flooring.
Wet, coastal or washdown rooms
Zinc-plated stems are an indoor spec. Anywhere water, salt or cleaning chemicals reach the leg, choose the stainless steel versions, on standard or low-profile bases.
On wood floors the pad face is not a nicety. The National Wood Flooring Association’s advice to homeowners includes protectors under furniture legs as routine scratch prevention, set out at woodfloors.org.
The setting is the job
How leveling feet work, and how to set them.
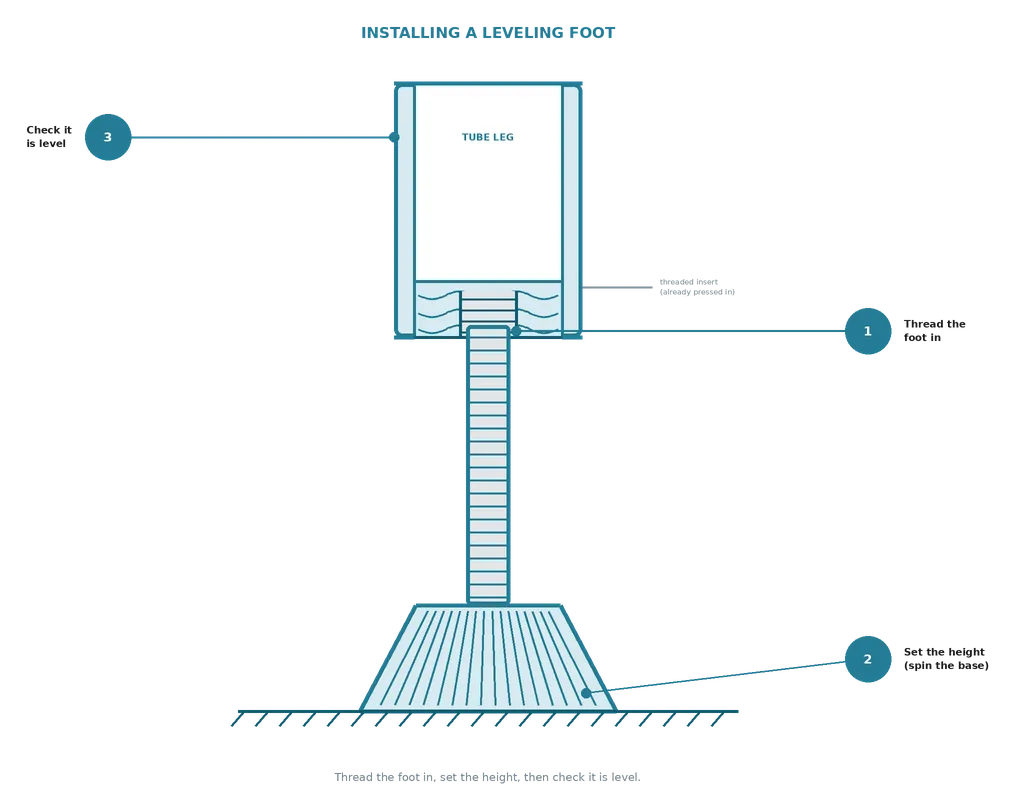
Screwing the feet in is thirty seconds a leg. Setting them so the piece stops rocking is the part with a method, and doing it in the wrong order is why furniture wobbles again a week later.
01
Wind every foot fully in
All feet all the way home, so the piece starts at its lowest and every stem has maximum thread engagement. Clean any swarf or paint out of the thread first if the foot resists.
02
Find the rocking pair
Set the piece in place and rock it corner to corner. It pivots across two diagonal legs; the other two alternate leaving the floor. One of those alternating legs is your adjustment.
03
Extend one foot until the rock dies
Turn out the foot under one alternating corner a little at a time, testing between turns. Stop the moment the rock stops. Then check the work surface with a level and trim the whole side if the piece needs to be level as well as steady.
Steady first, level second. They are different jobs. Chasing level before the rock is gone means adjusting four feet against each other indefinitely. Kill the wobble with one foot, then bring sides up together for level, and remember smooth and hex-key versions adjust from underneath with an Allen key once the piece is upright.
What you are buying
What adjustable leveling feet are made of.
Four materials, each doing one job in the assembly. Tap through the tabs to see which parts carry the load, which touch the floor, and which fight corrosion.
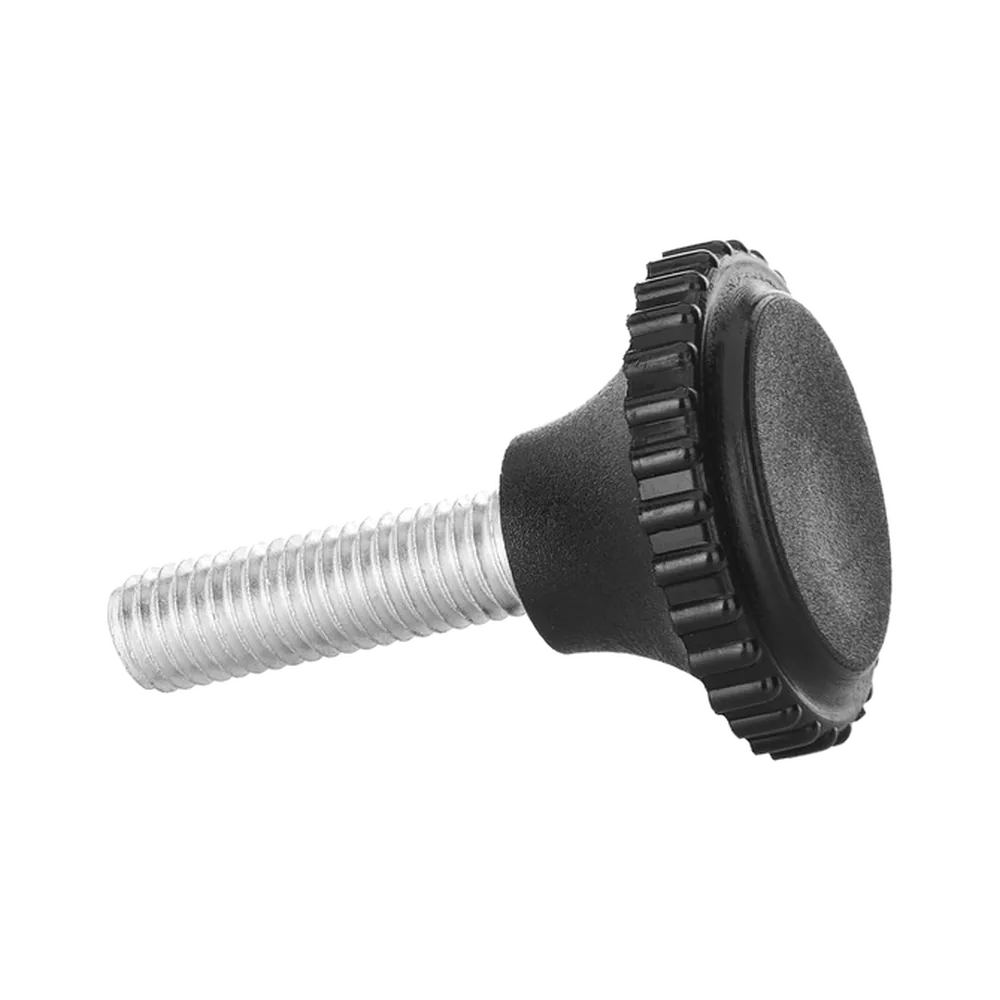
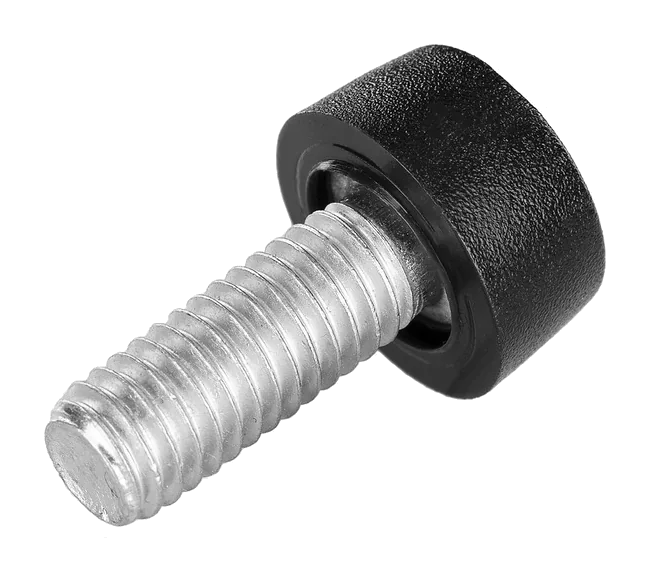
PA (Polyamide)
The main base material across the range. Glass-filled polyamide is stiff and hard-wearing, so the base keeps its shape under load and takes the day-to-day knocks a furniture leg lives with.
It runs the full size range, from small Ø20 bases up to the wide Ø50. Pad versions add a PA6 face on the base for an even footprint on finished floors. Pick polyamide for most tables, racks, cabinets, and frames.
POM (Acetal)
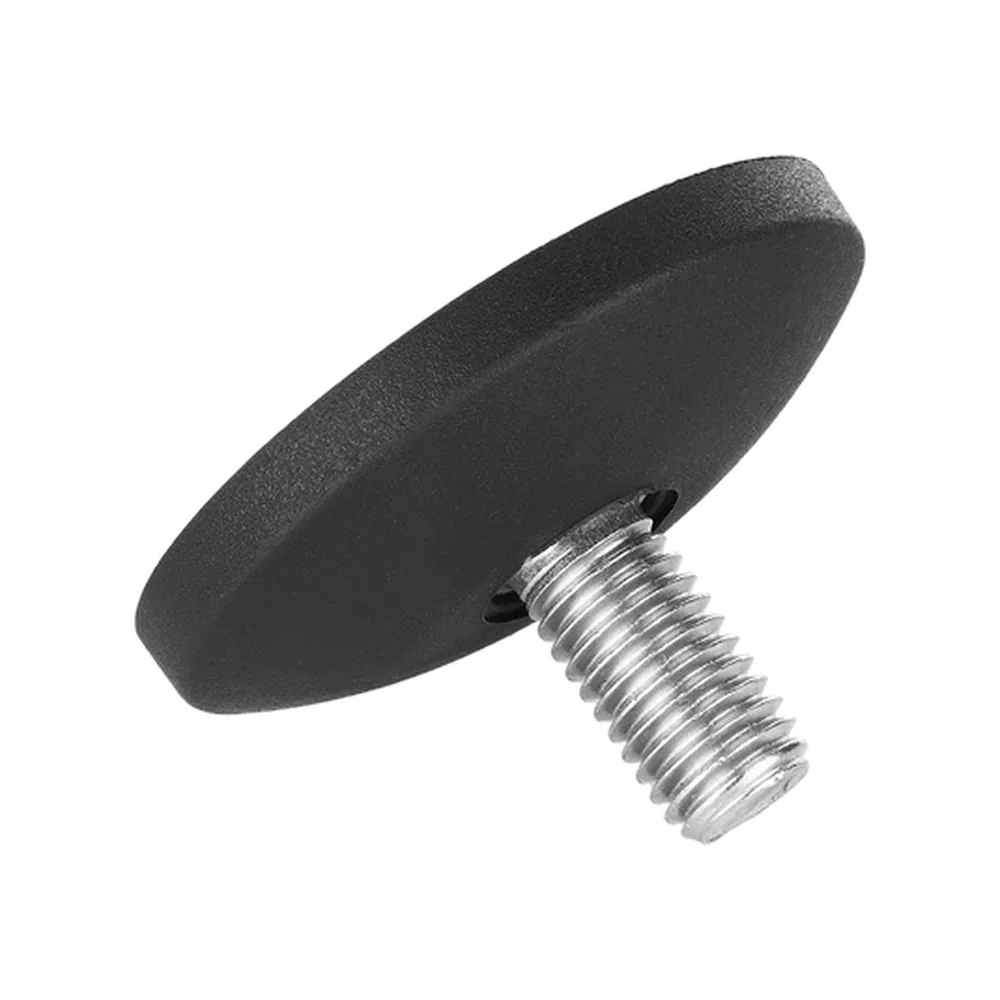
A denser, slicker plastic used on the smallest Ø13 mini feet. POM stays rigid at a tiny base size where polyamide would feel soft, so the little foot still sits firm under a slim leg.
Pick acetal when space is tight and you want a low-profile foot that tucks away under the leg.
TPE (Anti-Slip Base)
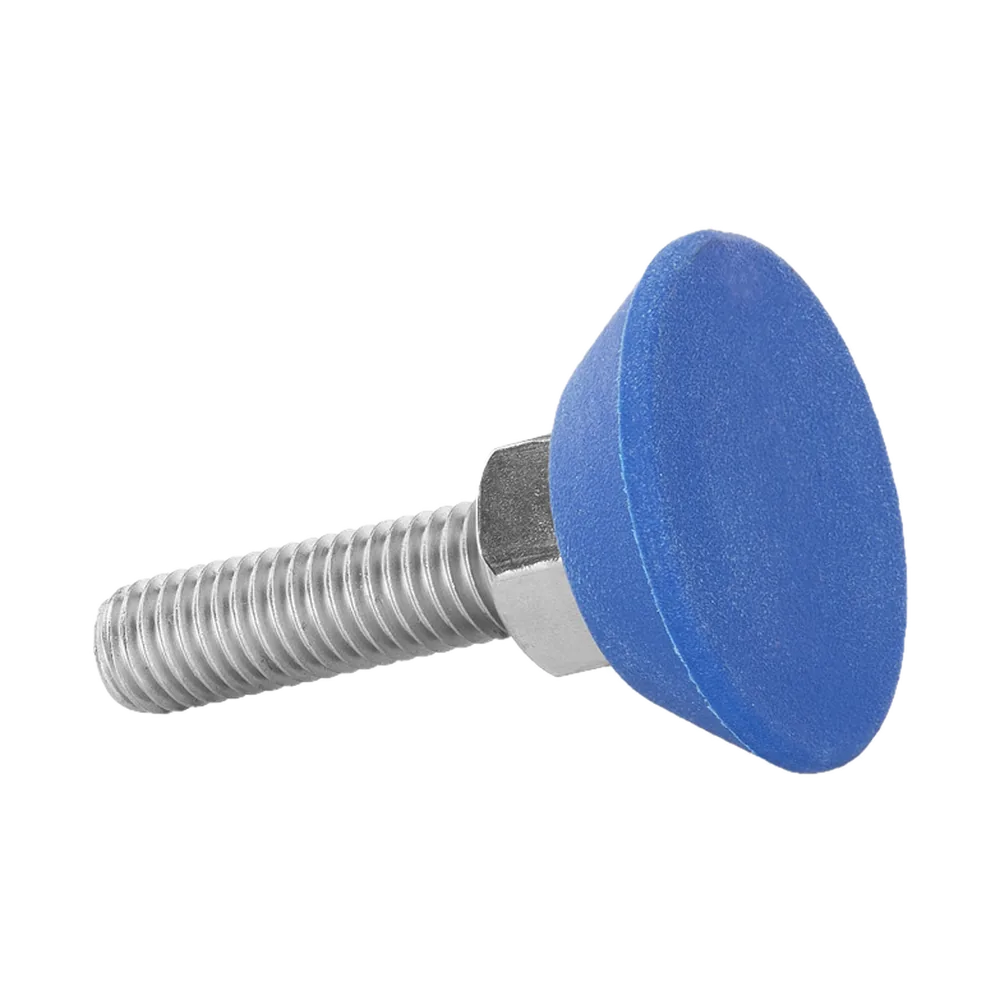
A soft, grippy face molded onto the base. TPE holds the floor instead of sliding on it, so the piece stays where you set it even when it gets bumped.
That is what you want under a bench, a stool, or any frame that tends to creep. We carry it on both galvanized and stainless stems.
Steel Stem (Galvanized or Stainless)
Every adjustable foot threads on a steel stem. The default is hot-dip galvanized steel, zinc-coated to hold off rust through normal indoor life.
For damp rooms, washdown areas, or coastal air, we carry the same feet on a stainless steel (INOX) stem. Pick stainless wherever rust would be a problem.
The folded-beermat question
A leveling foot and a shim solve the same wobble differently.
Both stop the rock today. What separates them is what happens for the following five years, and it is a fair comparison because the shim is free.
A leveling foot
Adjustment lives in the leg, so when the floor changes with the seasons, or the furniture moves a meter left, the fix moves with it and re-sets in seconds. The joint is threaded steel in a fixed insert, and it does not migrate or compress.
A shim, wedge or folded card
Solves this position on this day. It creeps out as the piece is nudged, compresses under sustained load, and holds dirt against the floor. On a heavy piece it also concentrates the whole corner load on whatever the shim is made of, which is how a beermat becomes a dent.
If you would rather skip the theory
The right foot for the job in front of you.
Most jobs are one of these. Each links into the filtered range.
Dining and work tables
M8 in most cases, standard base, pad face on a sealed floor. The setting method above matters more than the part here.
Cabinets, wardrobes and shelving
Tall pieces amplify a small rock at the top. Low profile adjustable feet keep the piece close to the floor, and doors tell you instantly when it is set right.
Appliances and equipment
Constant load, occasional vibration. Wide bases spread the weight, and a locknut habit keeps the setting where you put it.
Outdoor, marine and washdown
Stainless stems on standard or low-profile bases. The plated stem is the part that fails first anywhere wet.
Slanted and old floors
Tilt bases follow up to 9 degrees; ball-joints follow anything. The stem stays vertical in the leg while the base sits flat on whatever the floor is doing.
Fit-outs and equipment fleets
One thread spec across a hundred legs is a decision worth making once, on paper, before anything ships.
Still open
How leveling feet work: common questions
Whether a thread exists is the adjustable leveling feet page’s job, and this guide found its size. What remains is the after-fitting list, locknuts included.
The foot keeps unscrewing itself. Why?
Vibration, usually: washing machines, compressors, and tables that get leaned on rhythmically. Wind a locknut onto the stem before fitting and tighten it up against the leg once the height is set. The hex-key versions resist drift better too, since nothing on the base invites casual turning.
How far out can I safely run the stem?
Keep at least two-thirds of the stem inside the insert. Fully extended, a stem becomes a lever, and side load from dragging works the thread against the insert. If one corner needs more lift than that, the floor problem is bigger than a foot should solve, and a tilt base or a packer under the whole side is the honest fix.
Can I fit these to a solid wood leg?
Yes, with a threaded insert for wood fitted first: drill, wind the insert in, then treat it like any threaded leg. It is a joiner-comfort job rather than a difficult one. If the piece just needs floor protection rather than levelling, a nail-on glide or a pad is simpler and does not touch the leg structurally.
The pad on a pad-base foot has worn. Now what?
On slot versions the pad lifts out and a fresh PA6 pad presses in, without unscrewing the foot. Where the pad is bonded rather than slotted, replace the foot; the thread comes out in seconds so it is a like-for-like swap rather than a project.
One leg is M8 and the rest turned out to be 5/16″. Mix, or standardise?
Mixed threads on one piece usually mean a previous repair. It will work mixed, but the next person to touch it inherits the confusion, so if you are ordering anyway, fit matching inserts and standardise. Whatever you do, label nothing as M8 until it has passed the pitch check.
Do I need a foot on a leg that never leaves the floor?
On a four-legged piece, yes, because three adjustable legs and one fixed one means the fixed one sets the height and you level to it, which works only while the floor under it cooperates. Feet on all legs keeps every option open, and the unused ones simply stay wound in.
Will the stem mark the inside of an aluminum leg?
The stem never touches the leg; it runs in the steel or brass nut of the insert. What matters with aluminum is the insert fit itself, so size the insert to the tube exactly and do not over-drive it. Once fitted, the loads all pass through the insert as designed.
Can I paint the feet to match the furniture?
The base, yes, with a plastic primer and reasonable expectations about wear at the floor line. Keep paint off the stem and out of the thread entirely: a painted thread is a seized thread, and the whole point of the part is that it turns.
What are stud, cup shape and low profile leveling feet?
Three names for variations of the same part. A stud leveling foot is the standard design in this guide: a threaded stud fixed to a base. A cup shape leveling foot pairs the stud with a cupped base that holds a non-marking pad — our pad-base feet are this style. Low profile leveling feet keep the base height short so equipment sits close to the floor; start with the low-profile adjustable leveling feet.
What thread sizes do leveling feet come in?
Metric M4, M6, M7, M8, M10 and M12, and inch 1/4″-20 and 5/16″-18. M8 is the furniture default; M4 turns up on small equipment, and M12 on Standard Base feet. The thread size chart above shows what each one measures across. If your stud measures 9.5 mm it is 3/8″-16, which we do not stock — contact support for the closest fit.
Other resources
Browse other furniture guides: Glides Guide · Slides Guide · Pads Guide · Tube Plugs Guide · Sled Base Guide · Tile Floors Guide · Nail-On Glides How-To
Product categories: Furniture Glides · Furniture Slides · Furniture Pads · Tube Plugs & End Caps · Leveling Feet · Sled Base Glides
Business orders: Business pricing for volume pricing, project quotes, and commercial orders.
That is the guide
Send a photo of the old foot and we will name the thread.
The foot beside a ruler, or the leg base if nothing is fitted. That is all this adjustable leveling feet guide needs, and the reply names thread, stem and base.